Initial setup
Once the Playable Plugin plugin gets installed into a project, it is recommended to start with opening Luna UI via Tools > Playable Plugin in main Unity menu:

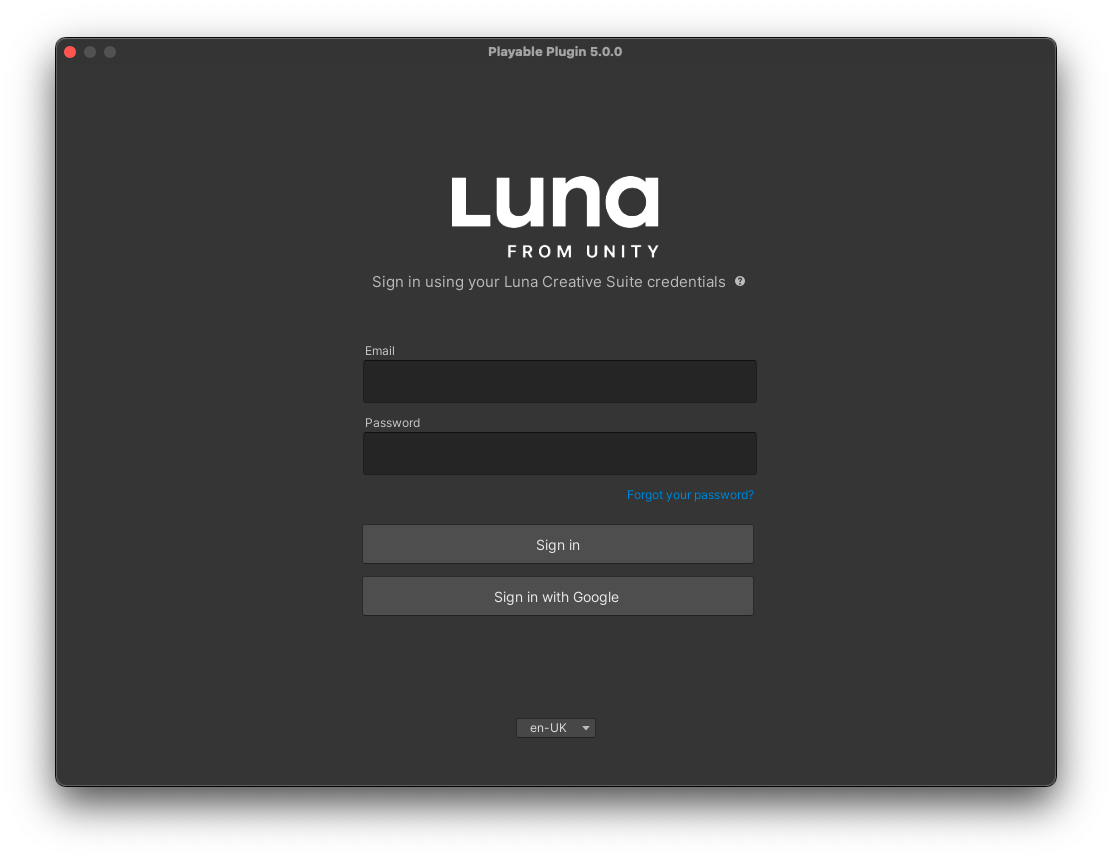
If this is the first time opening the Playable Plugin plugin, you will be presented with an interface requiring your Creative Suite login credentials.
- Log in to your Creative Suite account.
If you don't have credentials, you should reach out to your account admin or sign up here.
- Once logged in, the only mandatory change will be to select the scenes to include in the export, and your startup scene (this will be set to default if you have only one scene). To do this, you can navigate to the Settings section, and select the Basic tab.
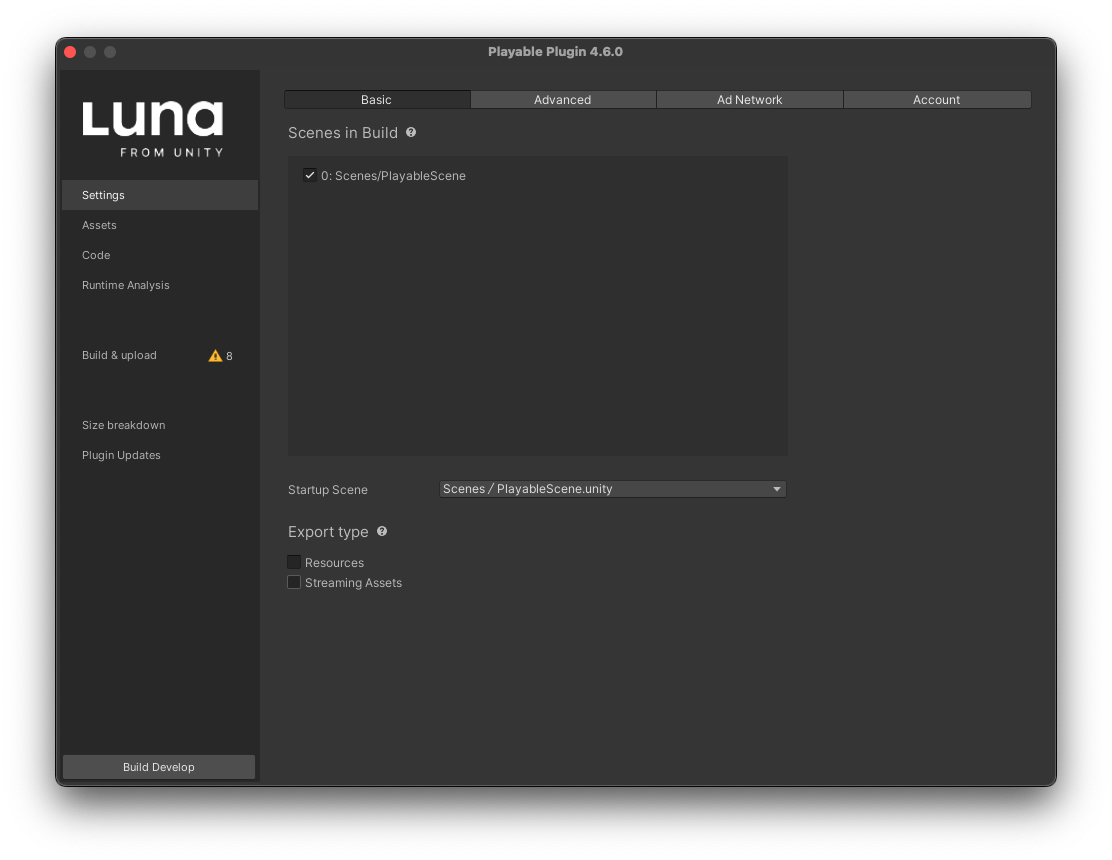
- Scenes in Build will display a list of all scenes currently configured in Unity's
Build Settingswindow and additionally your currently open scene in Unity Editor if it has not been added to Build Settings. Toggling it will add the scene to Build Settings. This is necessary for Luna to be able to discover the list of scenes and also to be able to gather the assets and scripts used by those scenes. Build Settings window can be opened viaFile > Build Settings.
Please note Luna's startup scene is configured separately below the list of all scenes.
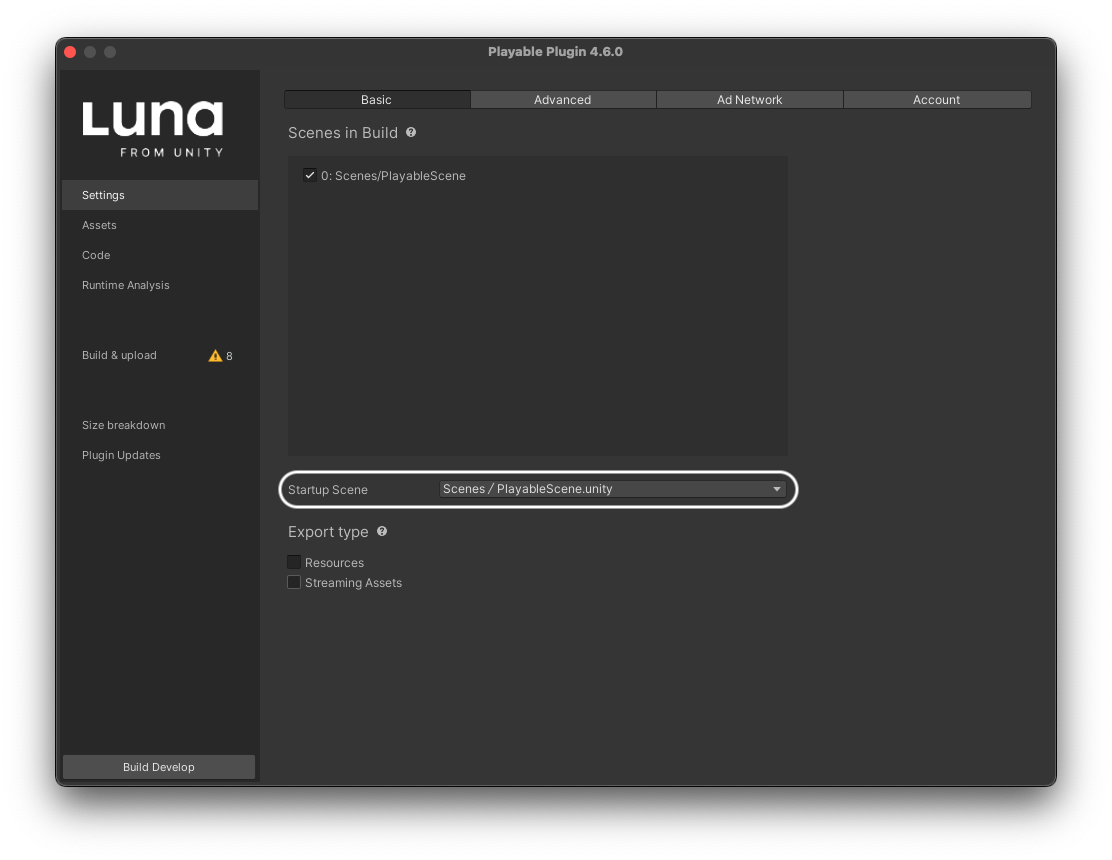
This is done intentionally so that playable scenes can live side by side with main game without affecting it.
It's always best to start incrementally, i.e. create a simple playable scene with little to no logic and choose that for the export to make sure other pieces of the pipeline are set up properly. It is possible to get back to this UI at any time and make any changes as it becomes required.
Once you have chosen scenes to be exported by Luna, it is ready to export your project.